Building a decent gaming setup doesn’t have to cost thousands of dollars. I’ve helped dozens of friends create budget gaming rigs that run modern games smoothly without breaking the bank.
The secret isn’t finding magical deals or waiting for perfect sales. It’s knowing where to spend your money and where to save it. Here’s how to build a gaming setup that actually works well for under $600.
Start With Your Budget Reality Check

Before you buy anything, decide how much you can actually spend. Most people say “as cheap as possible,” but that leads to buying junk that doesn’t work.
A realistic budget for a functioning gaming setup ranges from $400 to $800. Yes, you can spend less, but you’ll end up frustrated when games won’t run properly. You can also spend way more, but you won’t get much better performance for casual gaming.
Here’s how I break down a $600 budget:
- Computer/Console: $300-350
- Monitor: $100-150
- Mouse and keyboard: $40-60
- Headset: $30-50
- Chair: $50-100
This leaves some wiggle room for cables, a mousepad, or other small items you might need.
The Computer: Your Three Main Options
You have three paths for the computer itself. Each has pros and cons based on your situation.
Option 1: Buy a Used Gaming PC ($250-350)
This can be your best option—if you know what details to pay attention to. Many people sell perfect gaming computers when they upgrade.
What to look for:
- Computers with GTX 1060, GTX 1070, or RX 580 graphics cards
- Intel i5 processors from 2017 or newer
- At least 8GB of RAM
- A working copy of Windows
Where to find them:
- Facebook Marketplace (my favorite – you can see the seller’s profile)
- Craigslist (meet in public places)
- Local computer stores that sell refurbished systems
- OfferUp or similar local selling apps
I bought my friend Jake a used system with a GTX 1070 for $280 last year. It runs Fortnite at 100+ FPS and handles most newer games at medium-high settings. The seller even included a keyboard and mouse.
Red flags to avoid:
- No specific specs listed (“great for gaming!” with no details)
- Prices that seem too good to be true
- Sellers who won’t let you test the system
- Computers using older graphics cards, like the GTX 900 series or earlier
Option 2: Buy a Console ($300-400)
When it comes to plug-and-play simplicity, gaming consoles are tough to beat. A PlayStation 5 or Xbox Series S gives you guaranteed performance without technical headaches.
The Xbox Series S is your best budget option at around $300. It plays all the newest games and includes access to Game Pass, which has hundreds of games for a monthly fee.
Console pros:
- No setup or configuration needed
- Games are guaranteed to work properly
- Usually cheaper than equivalent PC performance
- Great for couch gaming
Console cons:
- Can’t upgrade individual parts later
- Limited to console-exclusive games
- Monthly fees for online gaming
- Less flexibility for other computer tasks
Option 3: Build a Basic PC ($350-450)
Building your PC gives you the most control and upgrade potential, but requires more research and assembly time.
A solid budget build looks like:
- AMD Ryzen 5 5600G processor with built-in graphics ($130)
- B450 motherboard ($70)
- 16GB DDR4 RAM ($50)
- 500GB SSD ($40)
- Basic case with power supply ($60)
This setup handles most games at 1080p on medium settings. You can add a dedicated graphics card later when you have more money.
I helped my neighbor build this exact setup last month. The total cost was $380, and it runs League of Legends, Minecraft, and older AAA games without issues.
Monitor: Don’t Overspend Here
Your monitor doesn’t need to be fancy. A basic 1080p display will work fine for budget gaming.
What to buy:
- 24-inch 1080p monitor from a known brand (ASUS, Acer, LG)
- 75Hz refresh rate if possible (smoother than standard 60Hz)
- IPS panel for better colors (but TN panels work fine too)
Where to save money:
- Skip 4K monitors – your budget graphics card can’t handle 4K gaming anyway
- Don’t worry about HDR or fancy color accuracy
- Avoid ultra-wide monitors – they cost more and need more graphics power
I recommend checking Facebook Marketplace for monitors first. Many people sell perfect 1080p monitors for $50-80 when they upgrade. Just make sure to test them before buying.
Photo suggestion: Include a comparison image showing a $100 budget monitor next to a $300 gaming monitor, demonstrating that the visual difference isn’t huge for most games.
Mouse and Keyboard: Functional Over Flashy

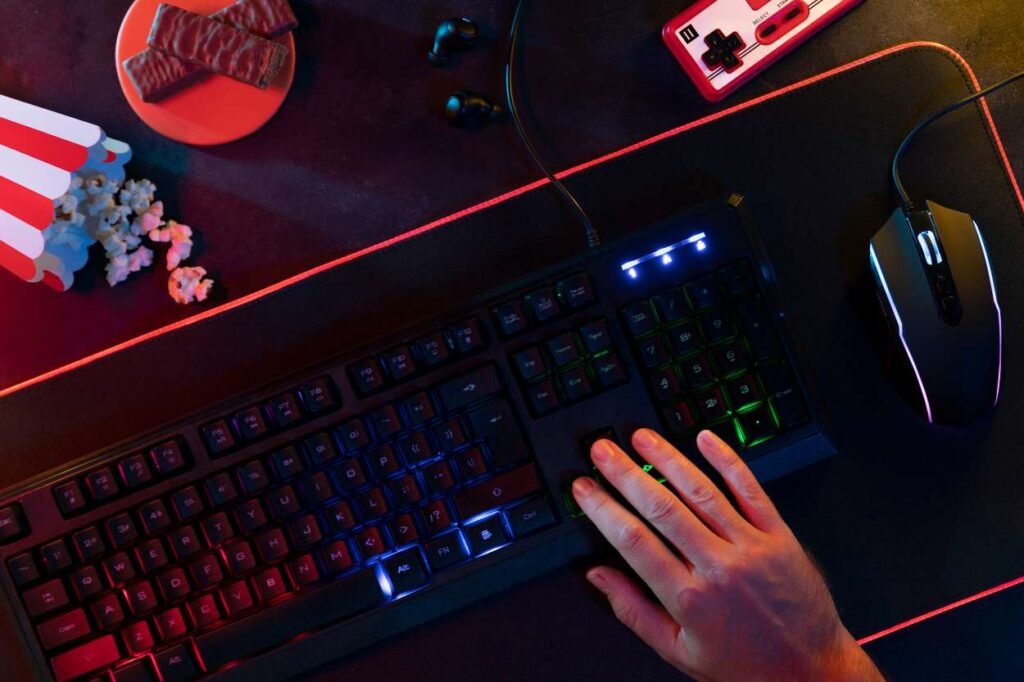
Gaming peripherals have substantial marketing budgets, but you don’t need $200 mechanical keyboards to play well.
For the mouse ($15-25):
- Any wired mouse with at least 1000 DPI
- Two side buttons for convenience
- Comfortable shape for your hand size
- Skip wireless mice to save money and avoid battery issues
For the keyboard ($25-35):
- Basic mechanical keyboard from brands like Redragon or Tecware
- Don’t worry about RGB lighting or premium switches
- Make sure it feels comfortable for typing, not just gaming
My current setup uses a $20 Logitech mouse and a $30 mechanical keyboard from Amazon. Both have worked perfectly for two years of daily gaming.
Table suggestion: Create a comparison table showing “Essential Features” vs “Nice to Have” vs “Marketing Fluff” for gaming peripherals.
Audio: Headset vs Speakers
Good audio makes games more immersive and helps you hear enemy footsteps in competitive games.
Budget headset ($30-50):
- HyperX Cloud Stinger or SteelSeries Arctis 1
- Wired connection (wireless adds cost and potential lag)
- Comfortable padding for long gaming sessions
- Clear microphone for talking to teammates
Alternative approach: If you already have decent earbuds or headphones, you can buy a separate desk microphone for $15-20. This often gives better audio quality than cheap gaming headsets.
I used Apple earbuds with a cheap USB microphone for months before buying a proper headset. It worked great for Discord calls and game audio.
The Chair Situation
You’ll spend hours in your gaming chair, so comfort matters more than looks.
Don’t buy:
- “Gaming chairs” with racing stripes and logos
- Chairs under $50 (they’ll break quickly)
- Anything that looks uncomfortable in photos
Do buy:
- A basic office chair from Staples, IKEA, or Amazon
- Something with adjustable height and decent back support
- Used office chairs from businesses (often high quality for cheap)
The best gaming chair I ever owned was a $60 office chair from a business that was closing down. It lasted four years and was more comfortable than friends’ $300 gaming chairs.
Assembly and Setup Tips
Once you have all your parts, setting everything up properly makes a huge difference.
Computer setup:
- Put your computer on your desk, not the floor (better airflow, less dust)
- Use an HDMI or DisplayPort connection for your monitor—avoid VGA for better quality.
- Install Windows updates before installing games
- Download graphics drivers from the manufacturer’s website
Desk organization:
- Keep your mouse area clear of clutter
- Position your monitor so the top is at eye level
- Make sure you have enough desk space for keyboard and mouse movement
- Use cable ties or clips to manage the cord mess
What to Upgrade First (When You Have More Money)
Start with the component that’s limiting your gaming experience the most.
- If games run slowly, upgrade your graphics card first. This gives the most significant performance boost for gaming.
- If you’re uncomfortable, a Better chair, a mechanical keyboard, or a nicer headset can improve daily comfort.
- If you want more screen space, a Bigger monitor or a second monitor for multitasking.
Don’t upgrade everything at once. Pick one thing, use it for a few months, then decide what bothers you most about your current setup.
Common Mistakes That Waste Money
- Buying mismatched parts: A $300 graphics card with a $50 processor won’t work well together. Keep your components balanced.
- Ignoring used markets: You can save 30-50% buying used parts that work just as well as new ones.
- Focusing on specs you don’t understand: Don’t buy something just because it has higher numbers. Research what actually matters for your games.
- Buying everything at once: Start with basics that work, then upgrade over time as you figure out what you actually need.
I watched a friend spend $800 on a setup, then immediately want to change half of it. He would have been happier spending $400 first, gaming for a few months, then upgrading the parts that actually bothered him.
Testing Your Setup
Before you celebrate, make sure everything actually works well together.
Performance testing:
- Download a few free games (Fortnite, Apex Legends, League of Legends)
- Check that you’re getting smooth frame rates (30+ FPS minimum, 60+ ideal)
- Make sure your computer doesn’t get extremely hot during gaming
- Test your microphone and headset with friends
Comfort testing:
- Play for 2–3 hours in one sitting to see if any discomfort or issues come up.
- Adjust your chair height and monitor position
- Make sure your mouse has enough space to move freely
If something doesn’t feel right, fix it now before it becomes a bigger problem.


